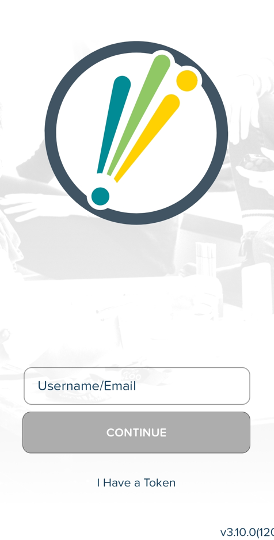
How To Login
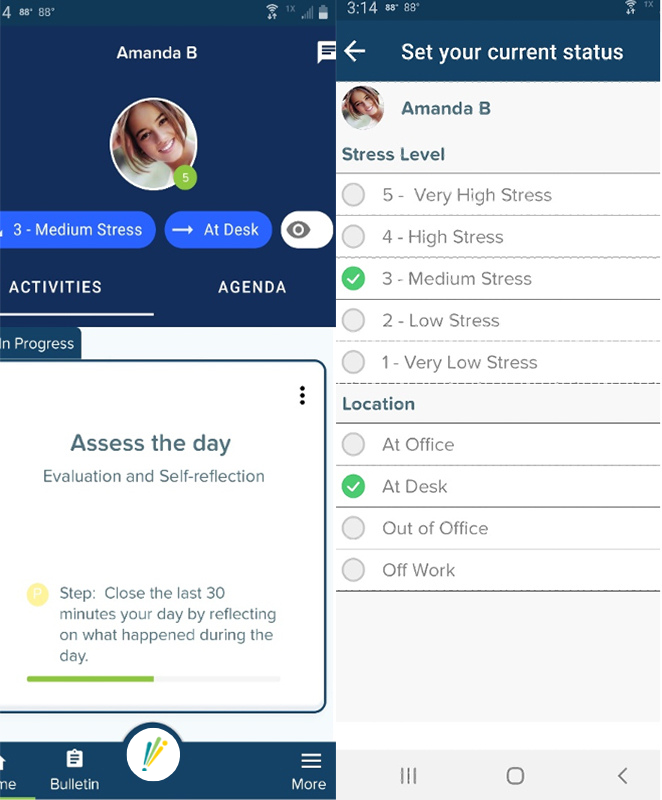
Multiple Statuses
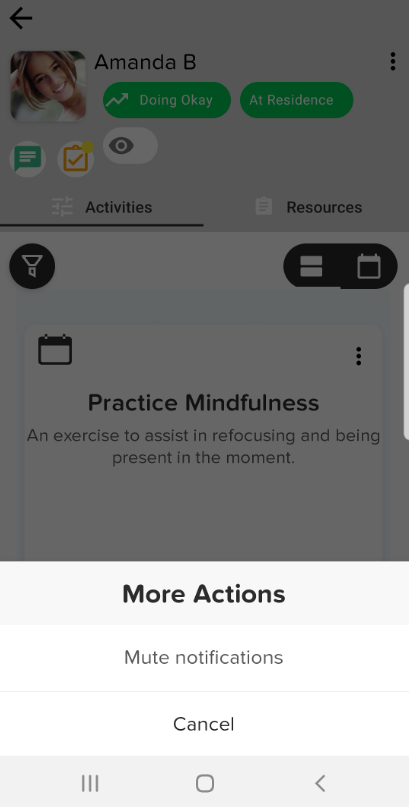
Silence Feature Status
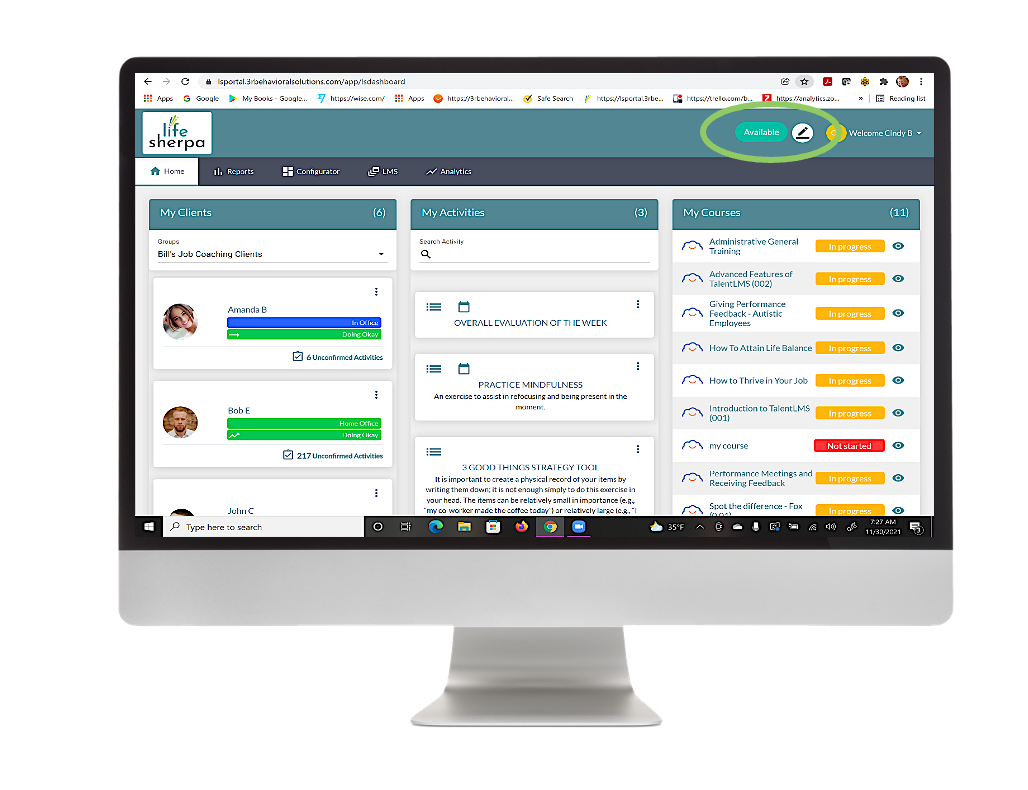
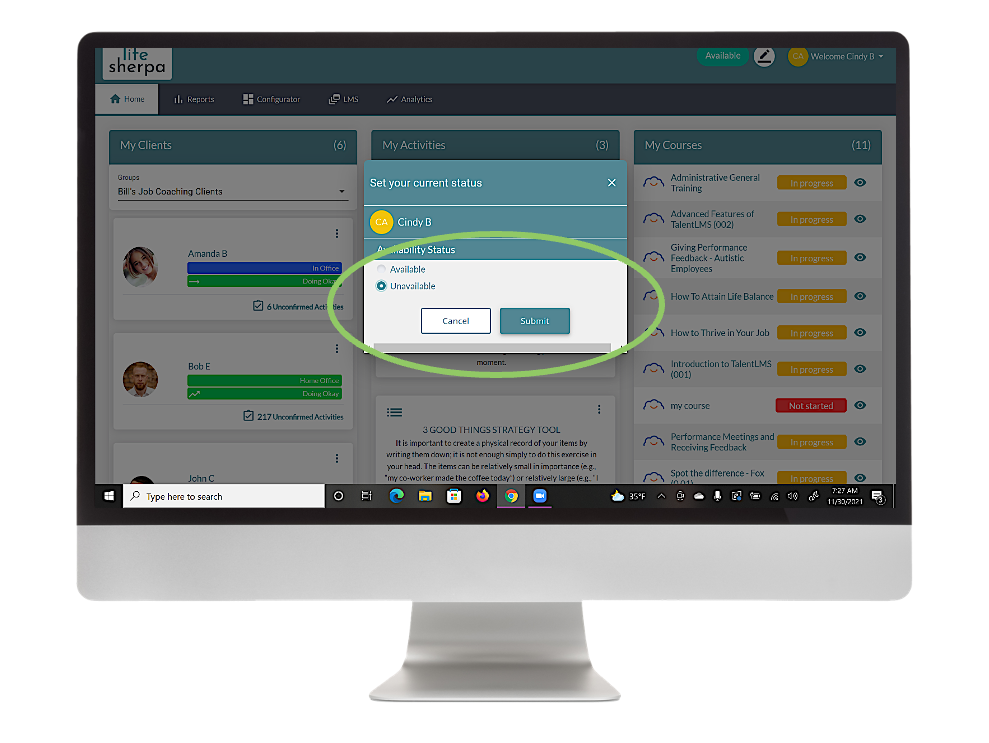
Admin Availability: Admin App and Portal
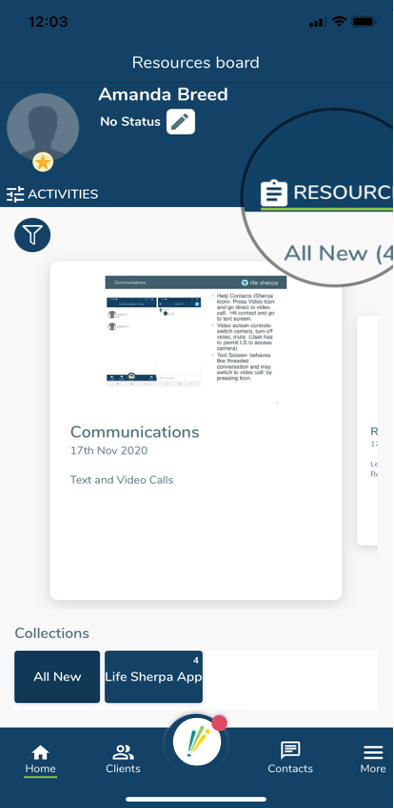
Resources
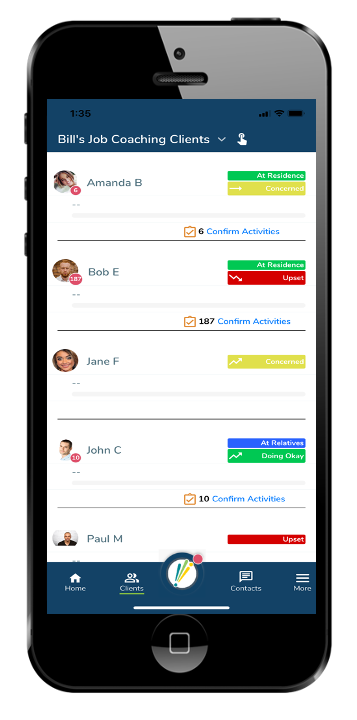
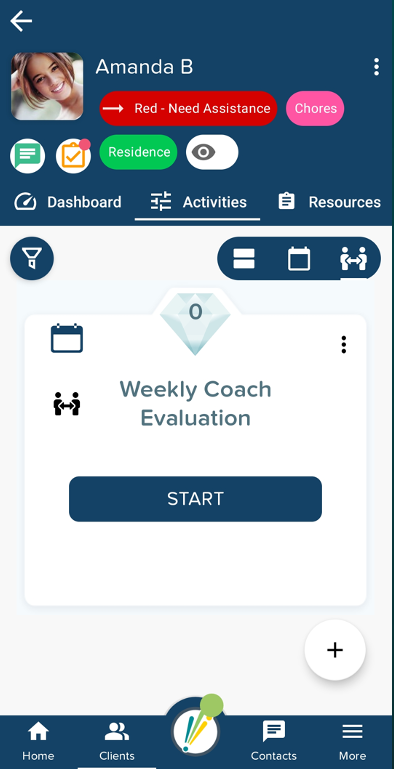
Client Main Screen and Detail Screen
Communications
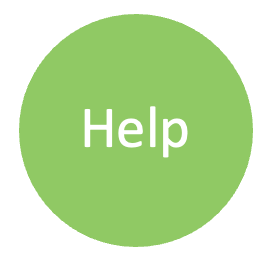
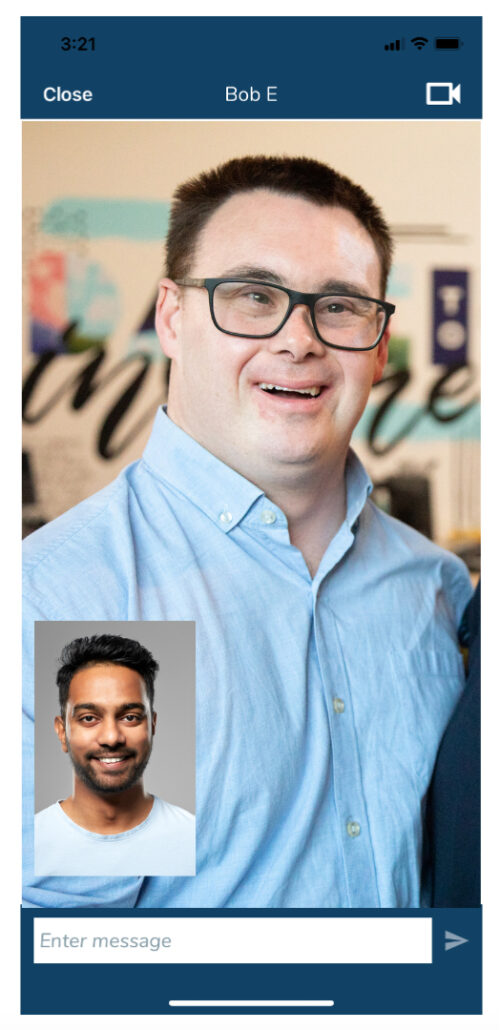
Help: Press Video Icon and go direct to video call. Hit contact and go to text screen.

Video: Switch camera, turn off video, mute (User has to permit LS to access camera).

Text: Behaves like threaded conversation and may switch to video call by pressing Icon.
Video and Group Video
Text and Direct Message
Reports

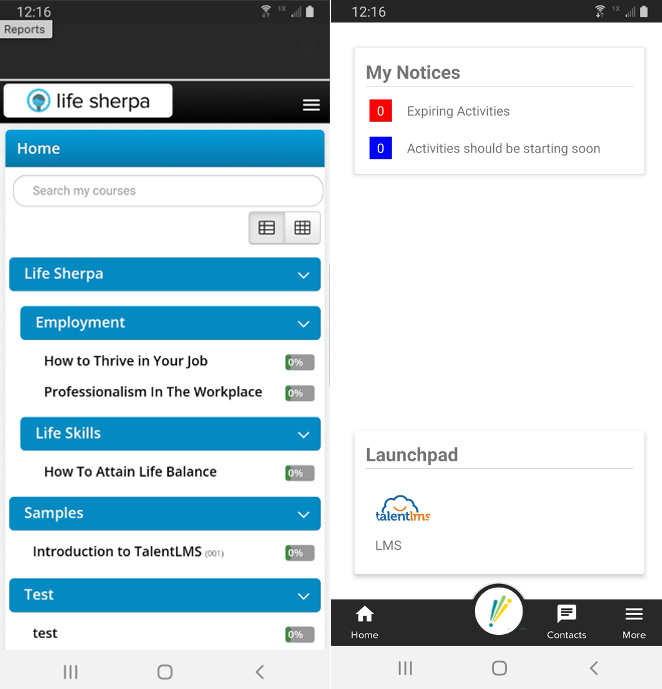
LMS on LifeSherpa APP
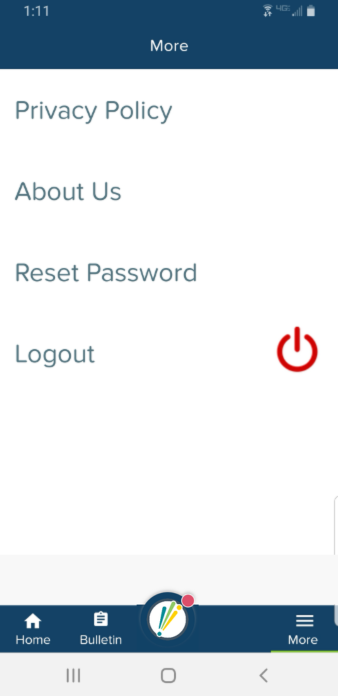
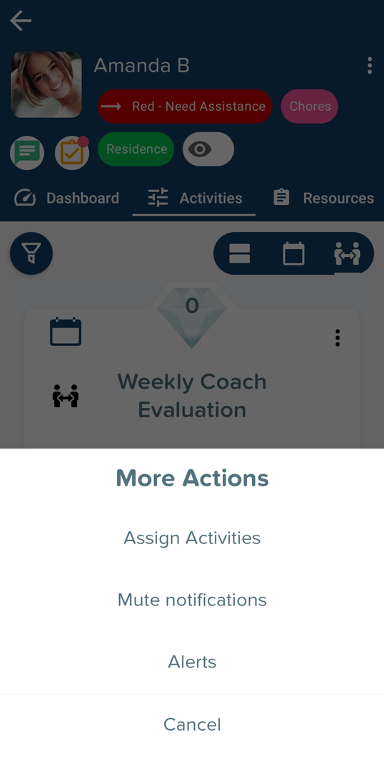
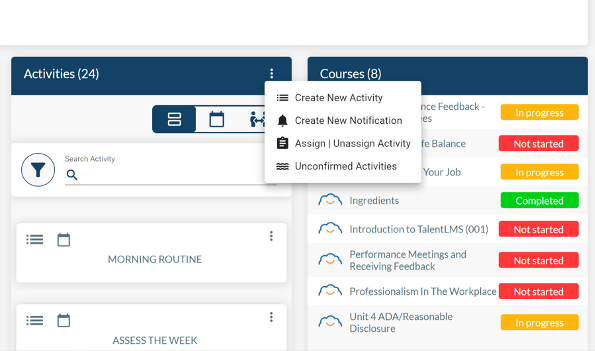
More Menu
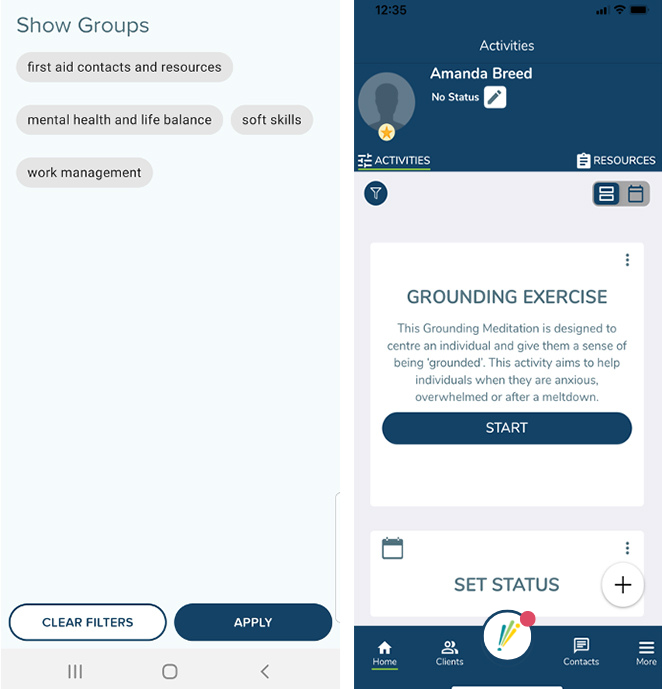
Filtering Activities by Type
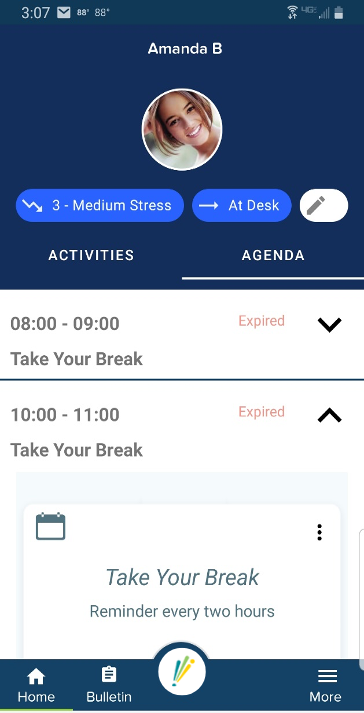
Agenda View
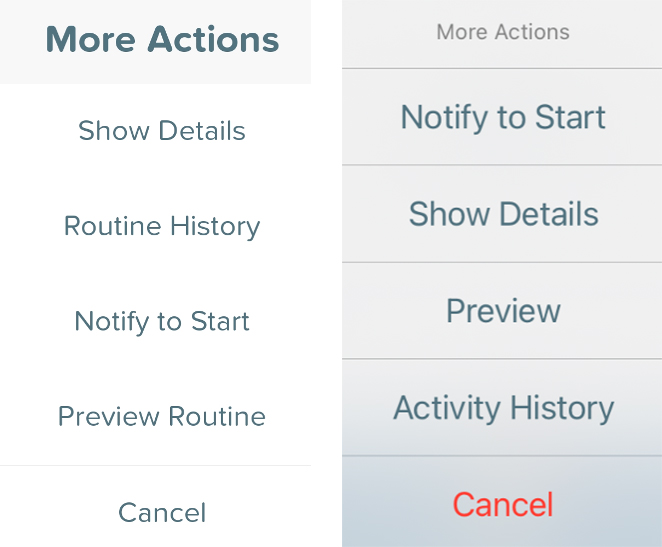
How to Preview, Start, or Detail an Activity
TouchPoints
Alerts
Activity History
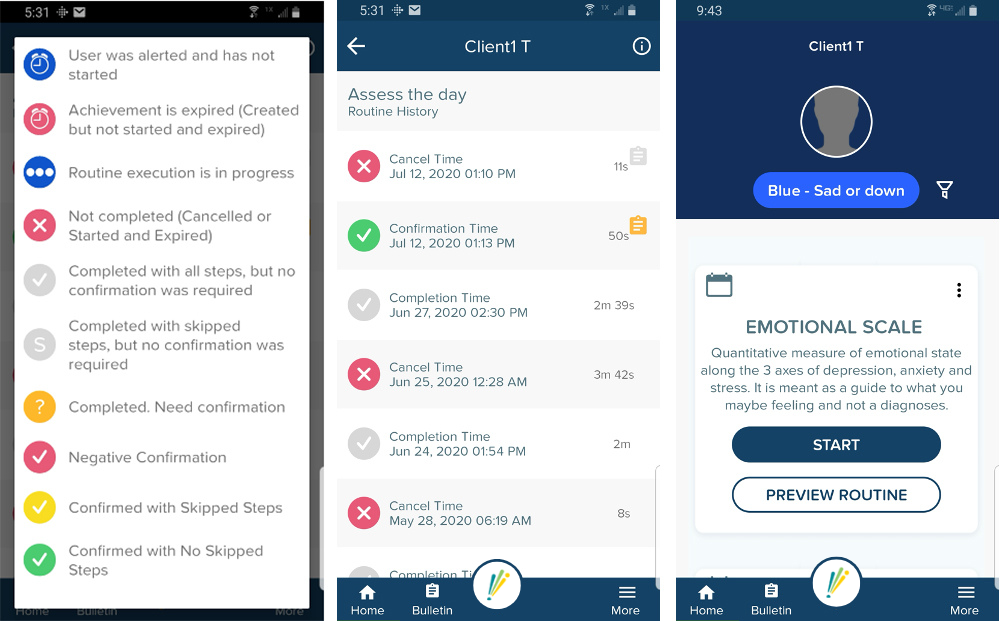
How to Check Activity Progress
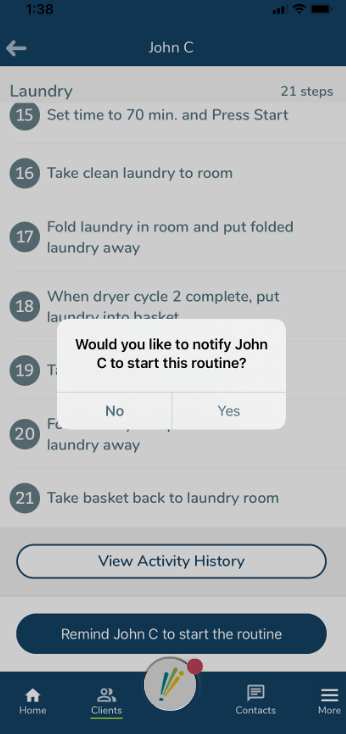
Reminders
Preview/Assign/Schedule: Access and Filter
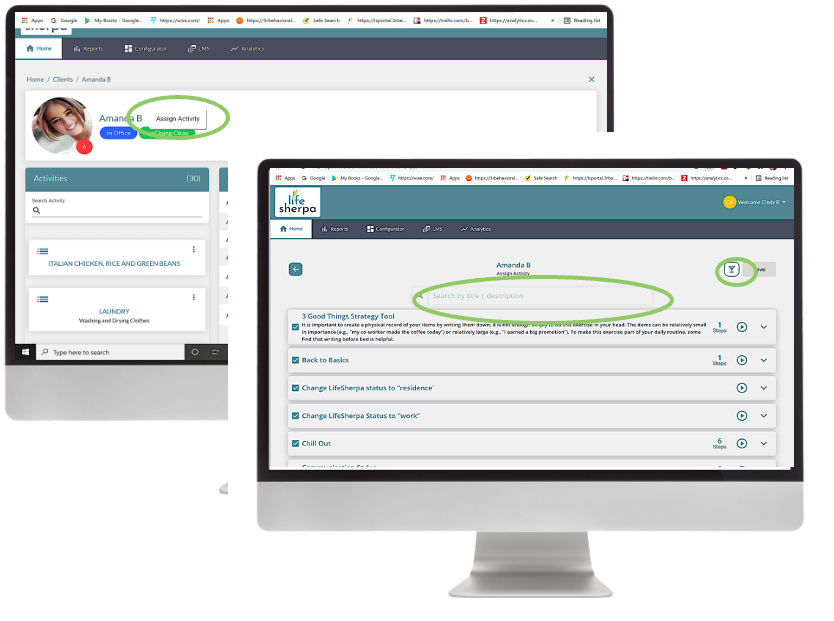
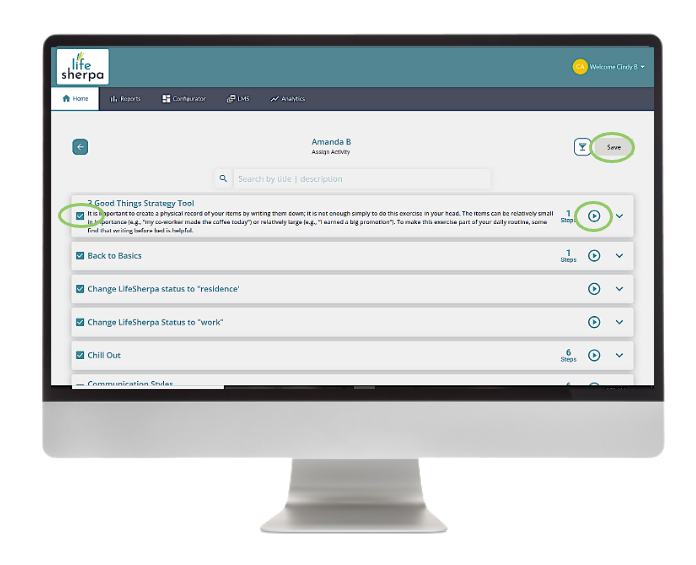
Preview/Assign/Schedule: Access and Preview
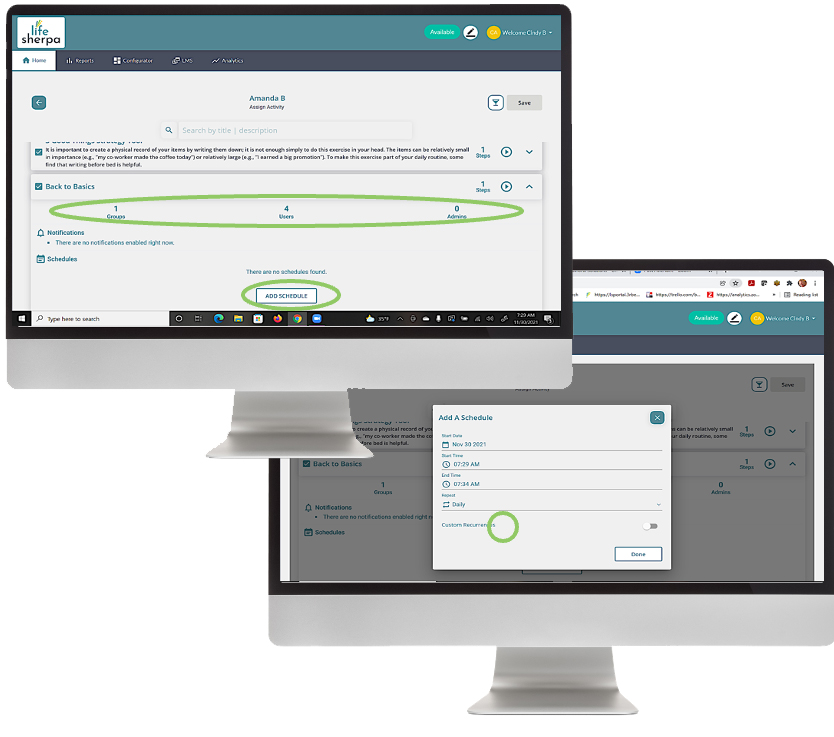
Preview/Assign/Schedule: About and Schedule
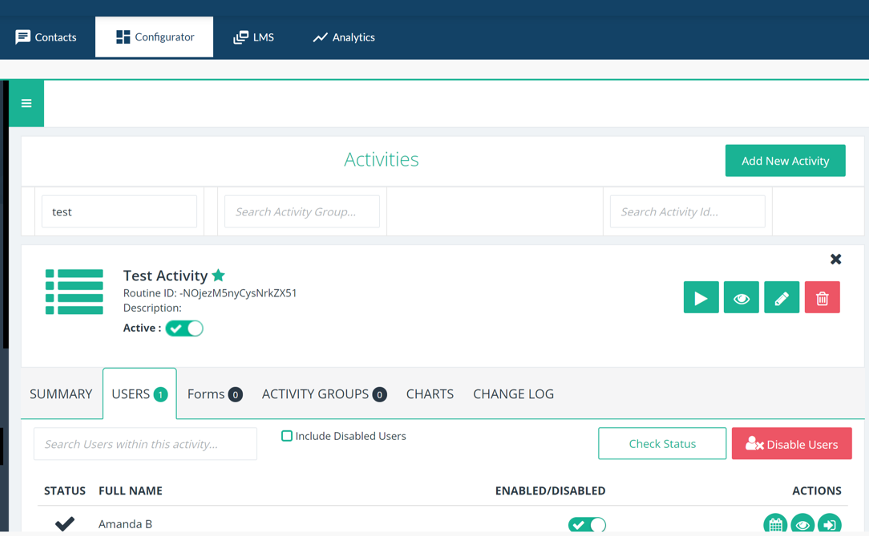
Feature Description
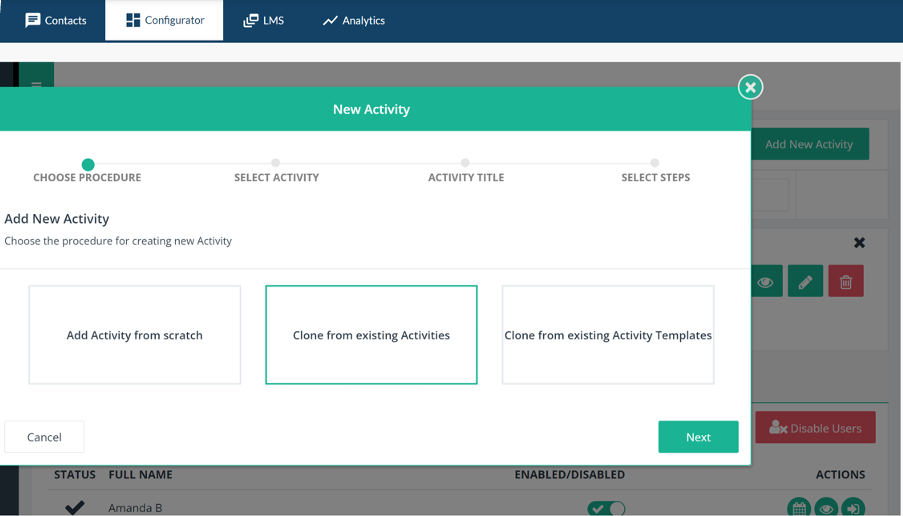
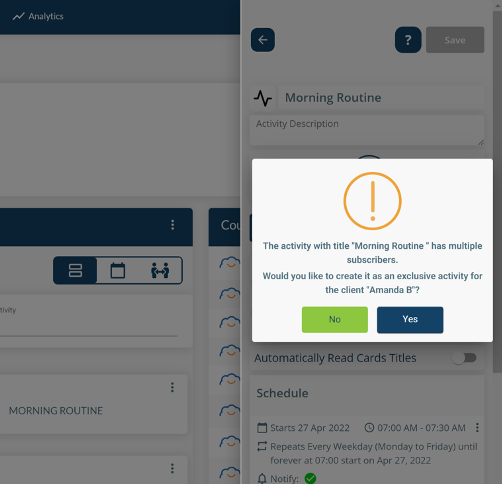
How to Create Activity

How to Edit Activity
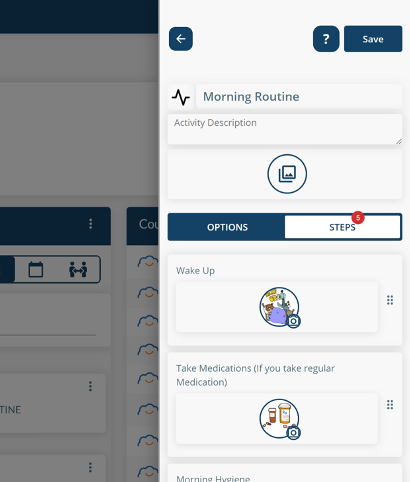
How to add other Activity Features to New Activity